

 Čeština
 Deutsch
 日本語
 Français
 Español
 한국어
 简体中文
 Italiano
 Português
 Nederlands
 Polski
 繁體中文
 Svenska
 Türkçe
 العربية
 Українська
 Dansk
 Norsk bokmål
 Suomi
 עברית
 Română
 Magyar
 Ελληνικά
 Hrvatski
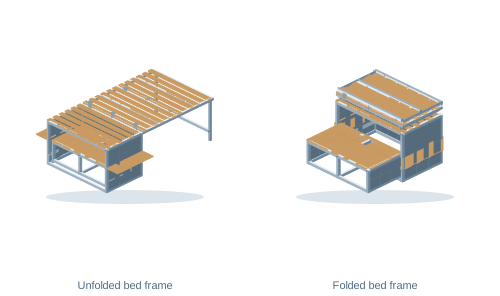 Template #80
How to plan a folding bed for your van.
Measure both the box location and the space for the unfolded bed. In this template, the depth of one panel is different from the length of the complete bed.
Read the guide →Choose a specific design. These guides connect site measurements, dimension meanings and design checks with the matching template.
The CAD editor and templates are free to use.
Template #80Measure both the box location and the space for the unfolded bed. In this template, the depth of one panel is different from the length of the complete bed.
Read the guide →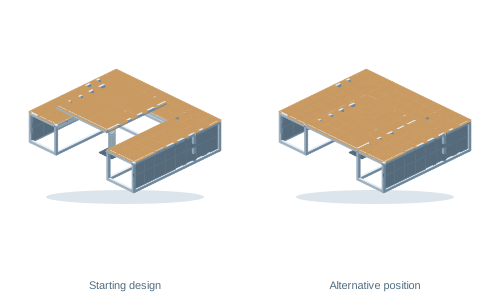 Template #81
The same footprint must provide seating, table access and sleeping space. Assess the layout in both dining and sleeping positions.
Read the guide →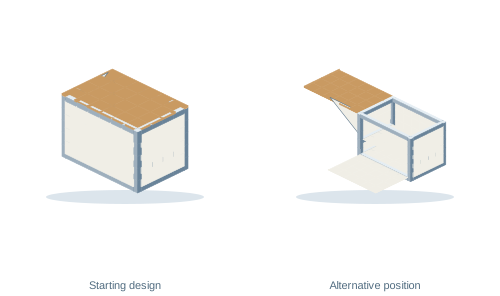 Template #75
A kitchen box must fit inside the vehicle for transport and leave access to its working surfaces when opened. Start by measuring both layouts.
Read the guide →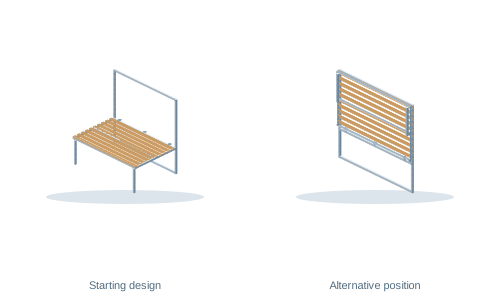 Template #78
Folding the bed frees the floor but requires wall space and sufficient height. Base the design on the mattress and both positions of the complete frame.
Read the guide →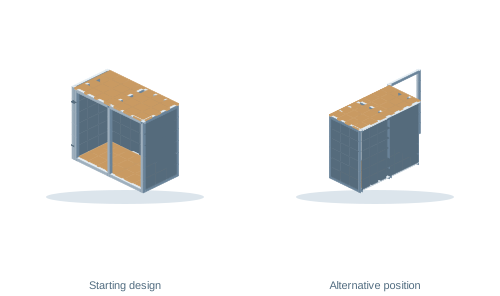 Template #90
The kitchen is used inside and outside the van. Its dimensions matter, but so does the space it sweeps through while turning.
Read the guide →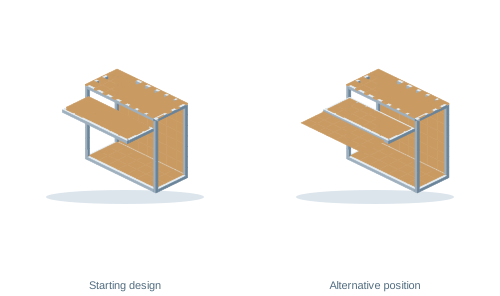 Template #110
Extending the compact kitchen creates a dining space. Allow for the frame, the extended tabletop and the person sitting beside it.
Read the guide →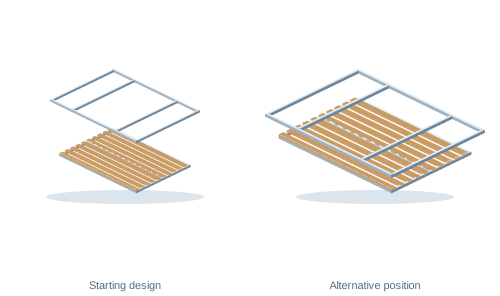 Template #237
A lifting bed changes how the same part of the van is used during the day. Compare its sleeping height, ceiling position and the space between them.
Read the guide →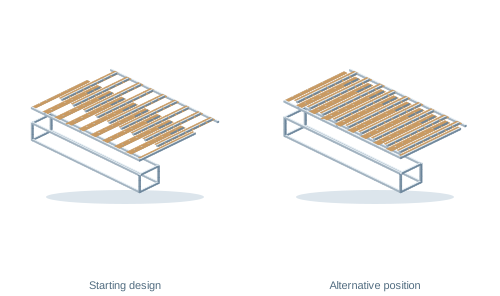 Template #239
Interleaved members let part of the bed slide into the fixed frame. Check access beneath the retracted section and the reach of the extended bed.
Read the guide →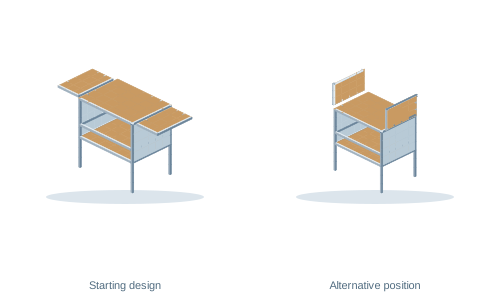 Template #271
The folded box is used for transport, while the unfolded assembly forms a separate workstation. Measure both uses, including the supporting legs.
Read the guide →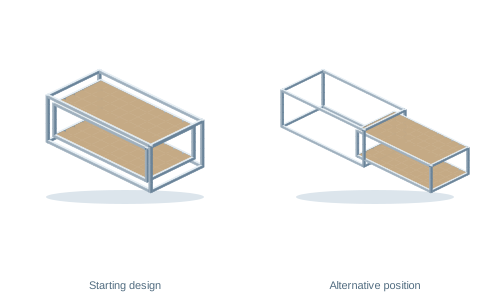 Template #545
The outer frame remains in the trailer while the working cassette slides outside. Separate storage space from working space in the design.
Read the guide →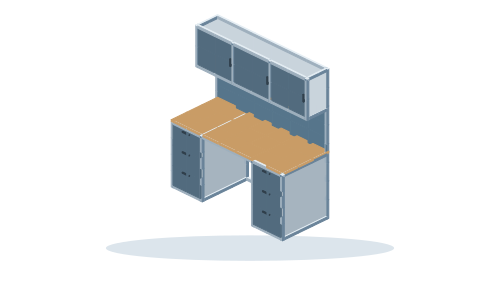 Template #3
Start with the task and the items you need within reach. Divide the overall width between storage blocks and the open working area.
Read the guide →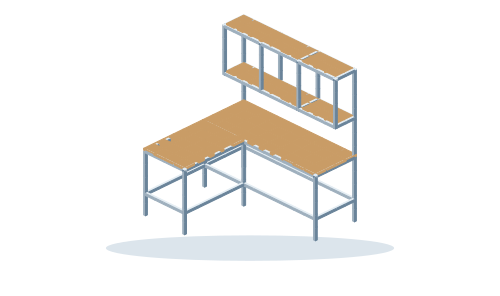 Template #9
Divide the work area into incoming goods, packing and finished parcels. Use the corner so that supplies remain accessible without unnecessary walking.
Read the guide →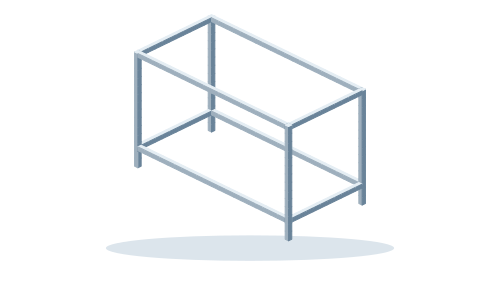 Template #14
A well-sized bench leaves room for the workpiece, tools and movement around it. Use the starting frame to plan your own workshop.
Read the guide →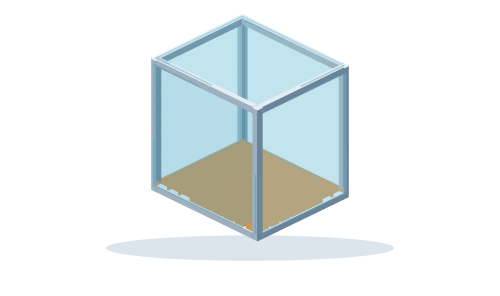 Template #22
The outline of a stationary printer is not enough. Measure moving parts, cable routing and the access needed to remove prints or maintain the machine.
Read the guide →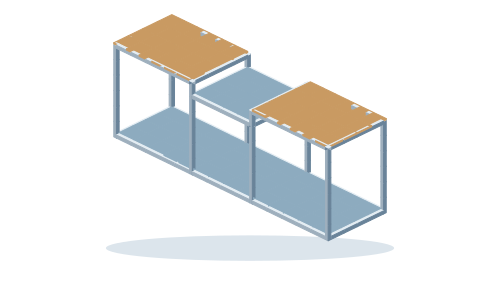 Template #93
Measure your own saw first. The frame has a lowered centre bed whose position must match the actual height of the machine table.
Read the guide →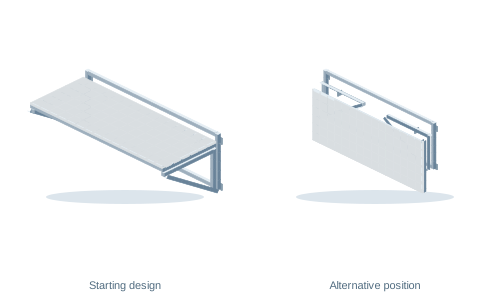 Template #98
For a wall bench, assess both the working position and the folded space. The supports and top move separately and need their own clear paths.
Read the guide →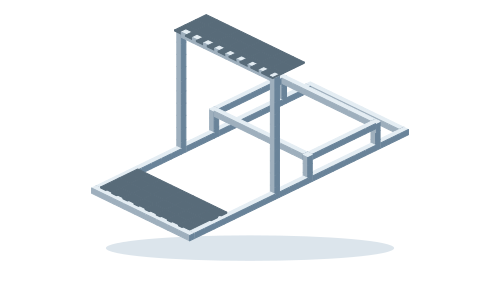 Template #28
Base the frame dimensions on your own equipment and seated reach. The starting assembly helps arrange the individual mounting areas.
Read the guide →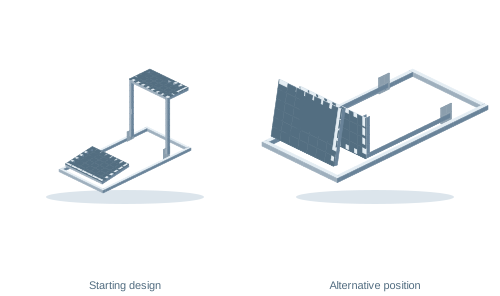 Template #198
A separate stand must work with your chair and fit its storage location. Assess both requirements using the same equipment.
Read the guide →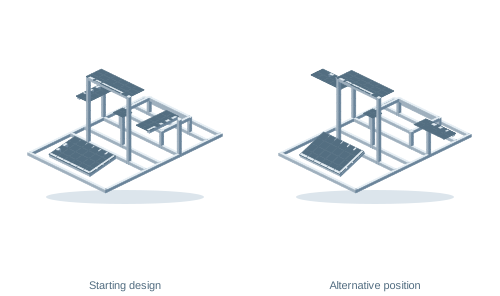 Template #199
Switching simulators requires several working positions. Arrange the wheel, centre control and both side arms around the actual seat.
Read the guide →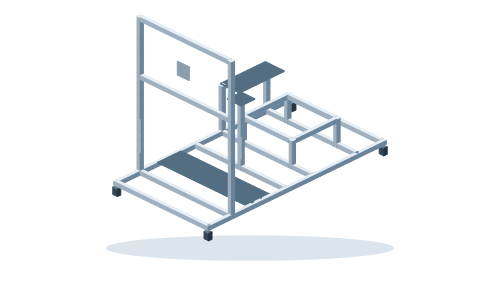 Template #200
Start with your seated working position. Then arrange the centre stick, left control and front display portal around it.
Read the guide →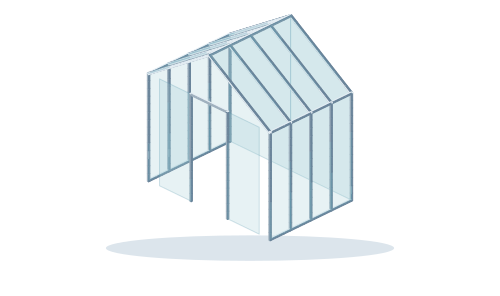 Template #504
Divide the greenhouse footprint between growing areas and access. Assess working height inside, not just the highest point of the ridge.
Read the guide →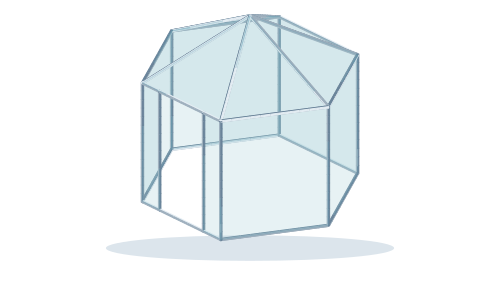 Template #508
A hexagonal footprint offers several approach directions but is harder to compare with a rectangular bed. Mark its complete outer envelope.
Read the guide →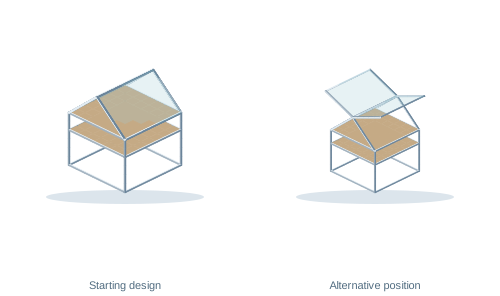 Template #513
Two lids open in opposite directions from a shared ridge. Position the structure for access to both halves and the cabinet beneath the growing bed.
Read the guide →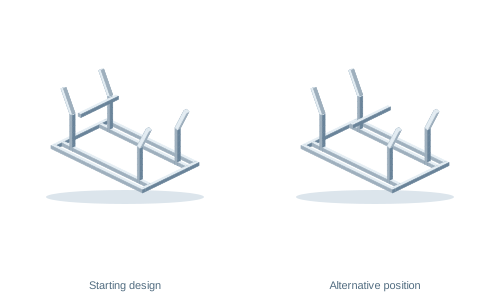 Template #521
The support pairs adjust to the fuselage. First choose suitable support locations, then compare the cradle width, spacing and working height.
Read the guide →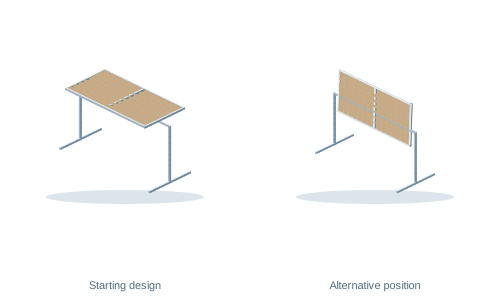 Template #523
Rotation makes both sides of a model railway easier to reach. The clear movement envelope must include the board and all attached parts.
Read the guide →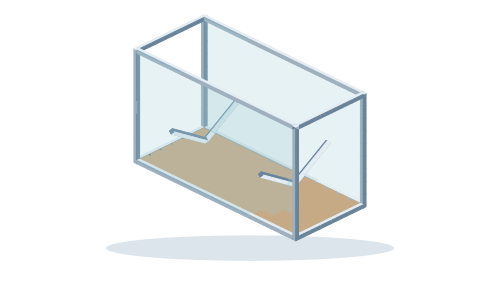 Template #524
The outer frame defines space around the model and provides side access. Base the dimensions on the boat as it will actually be transported.
Read the guide →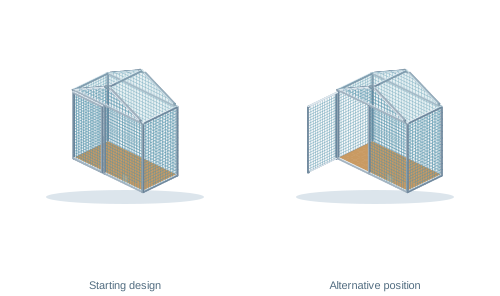 Template #121
Plan the space for the animal and for the person entering and cleaning it. Compare the footprint with nearby paths and equipment.
Read the guide →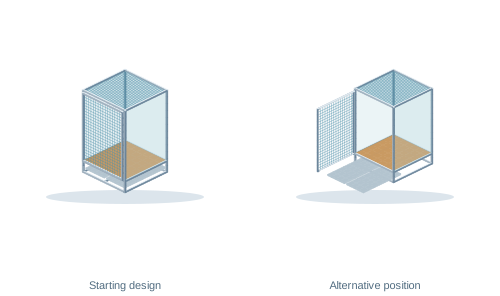 Template #138
A tall aviary may fit a room footprint yet still need space at the front and lower trays. Include routine maintenance in the layout.
Read the guide →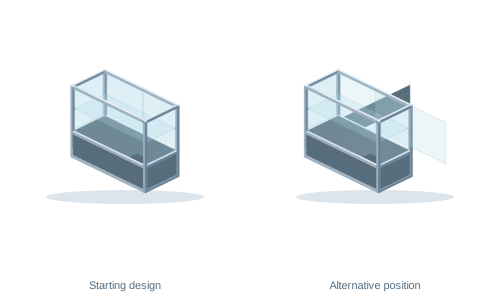 Template #151
The counter should display products while providing practical access for staff. Base the dimensions on the actual items on display.
Read the guide →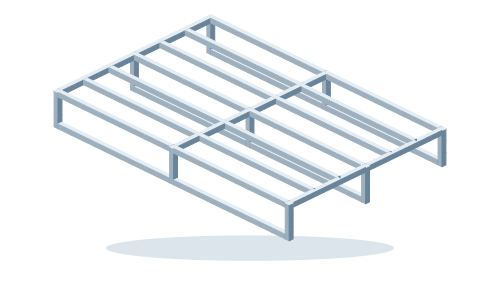 Template #456
The low frame leaves fork access from all four sides. Before changing the footprint, compare the load with the actual handling equipment.
Read the guide →